Closet Buildout.
After renovating our home about a year ago and creating an open room off of our master bath with intentions of one day having a closet inside, we decided to hold off on the buildout. I knew what I wanted and that it had to be custom due to our slanted ceilings. We decided that it would be worth the wait to save for our dream closet. Fast forward to October and we finally had it completed.
Kind Carpentry (a local crew) completed the closet based off of my design and absolutely nailed it!
Excited to share photos of the final product.

the process:
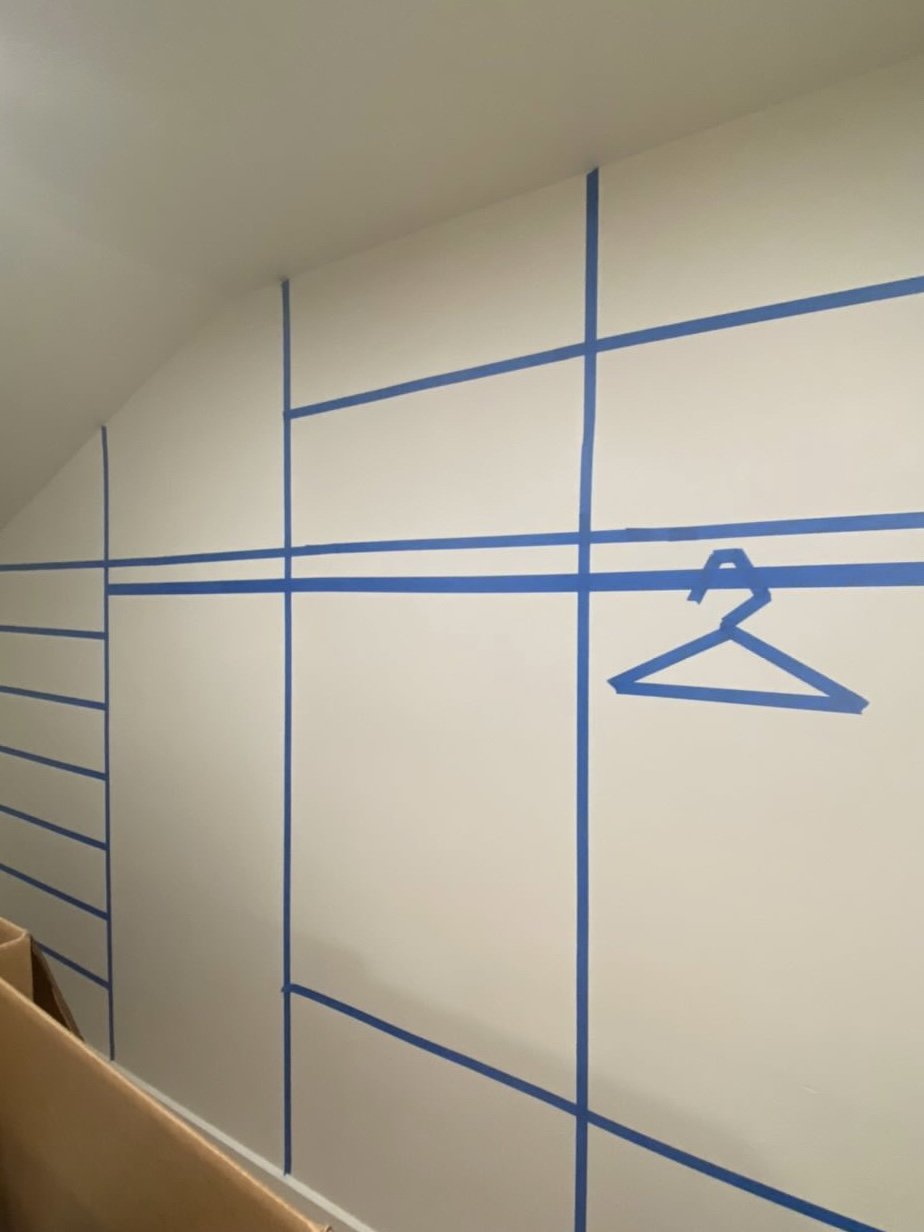
I started by taping out what I wanted with painters tape.
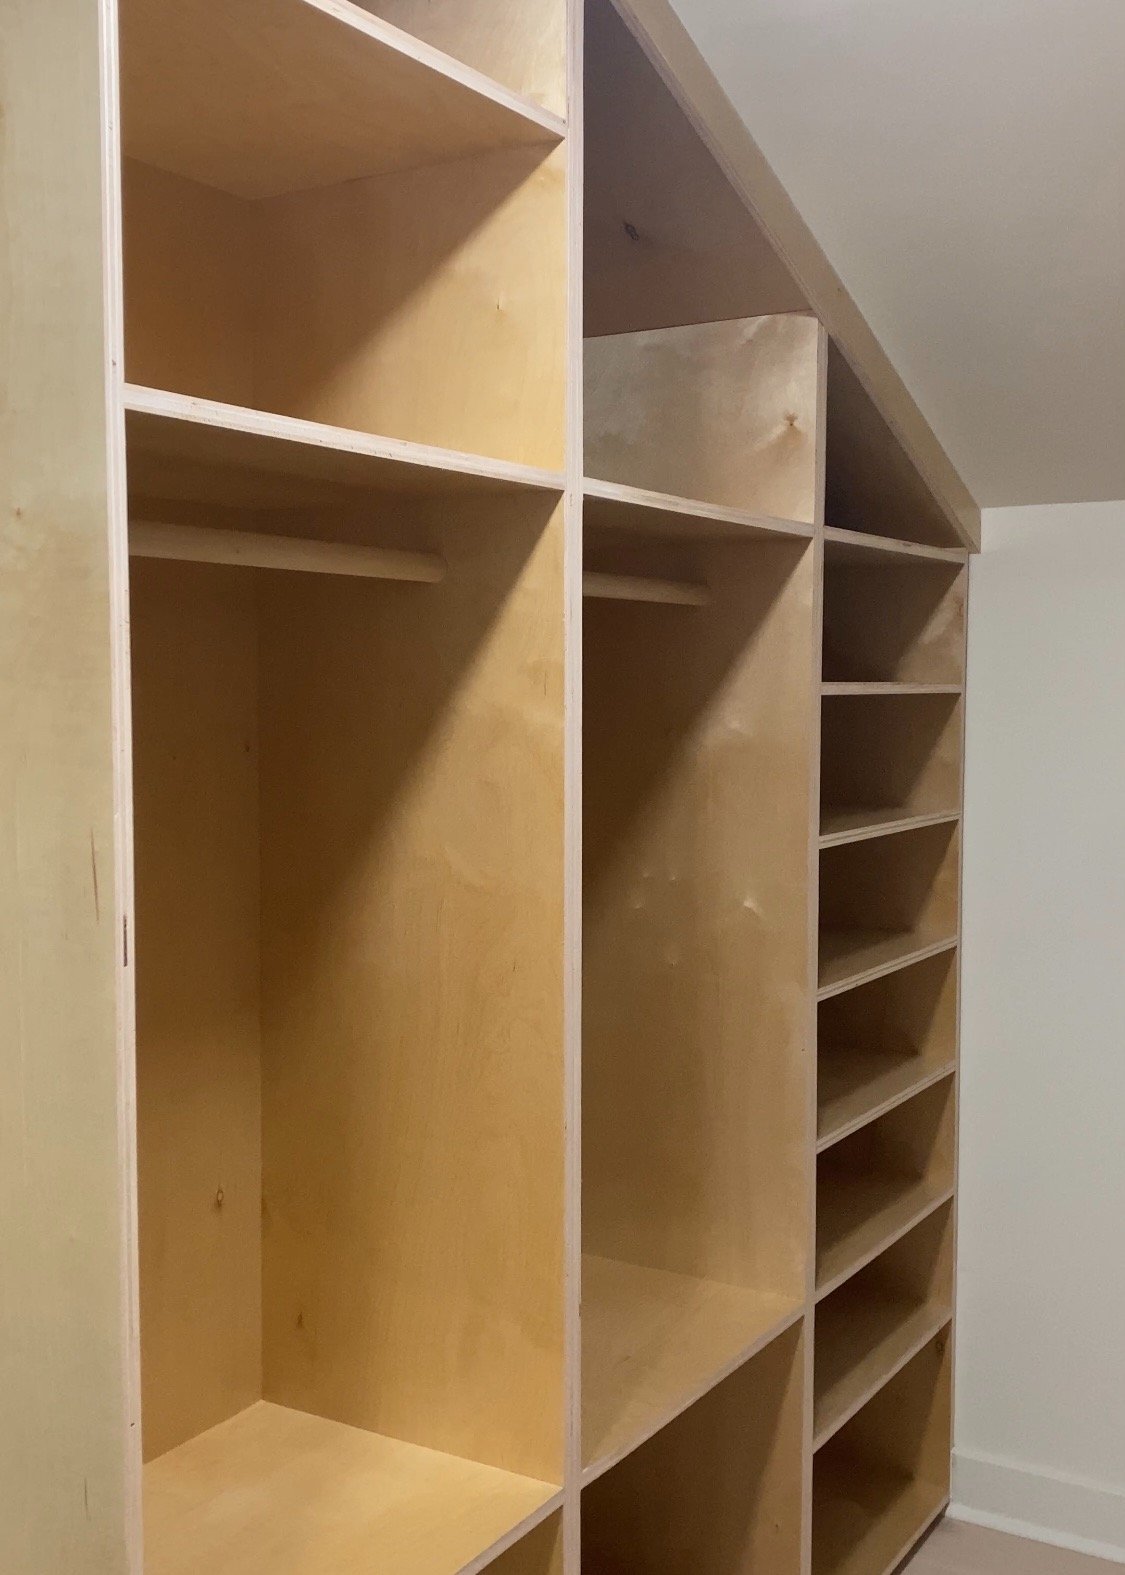
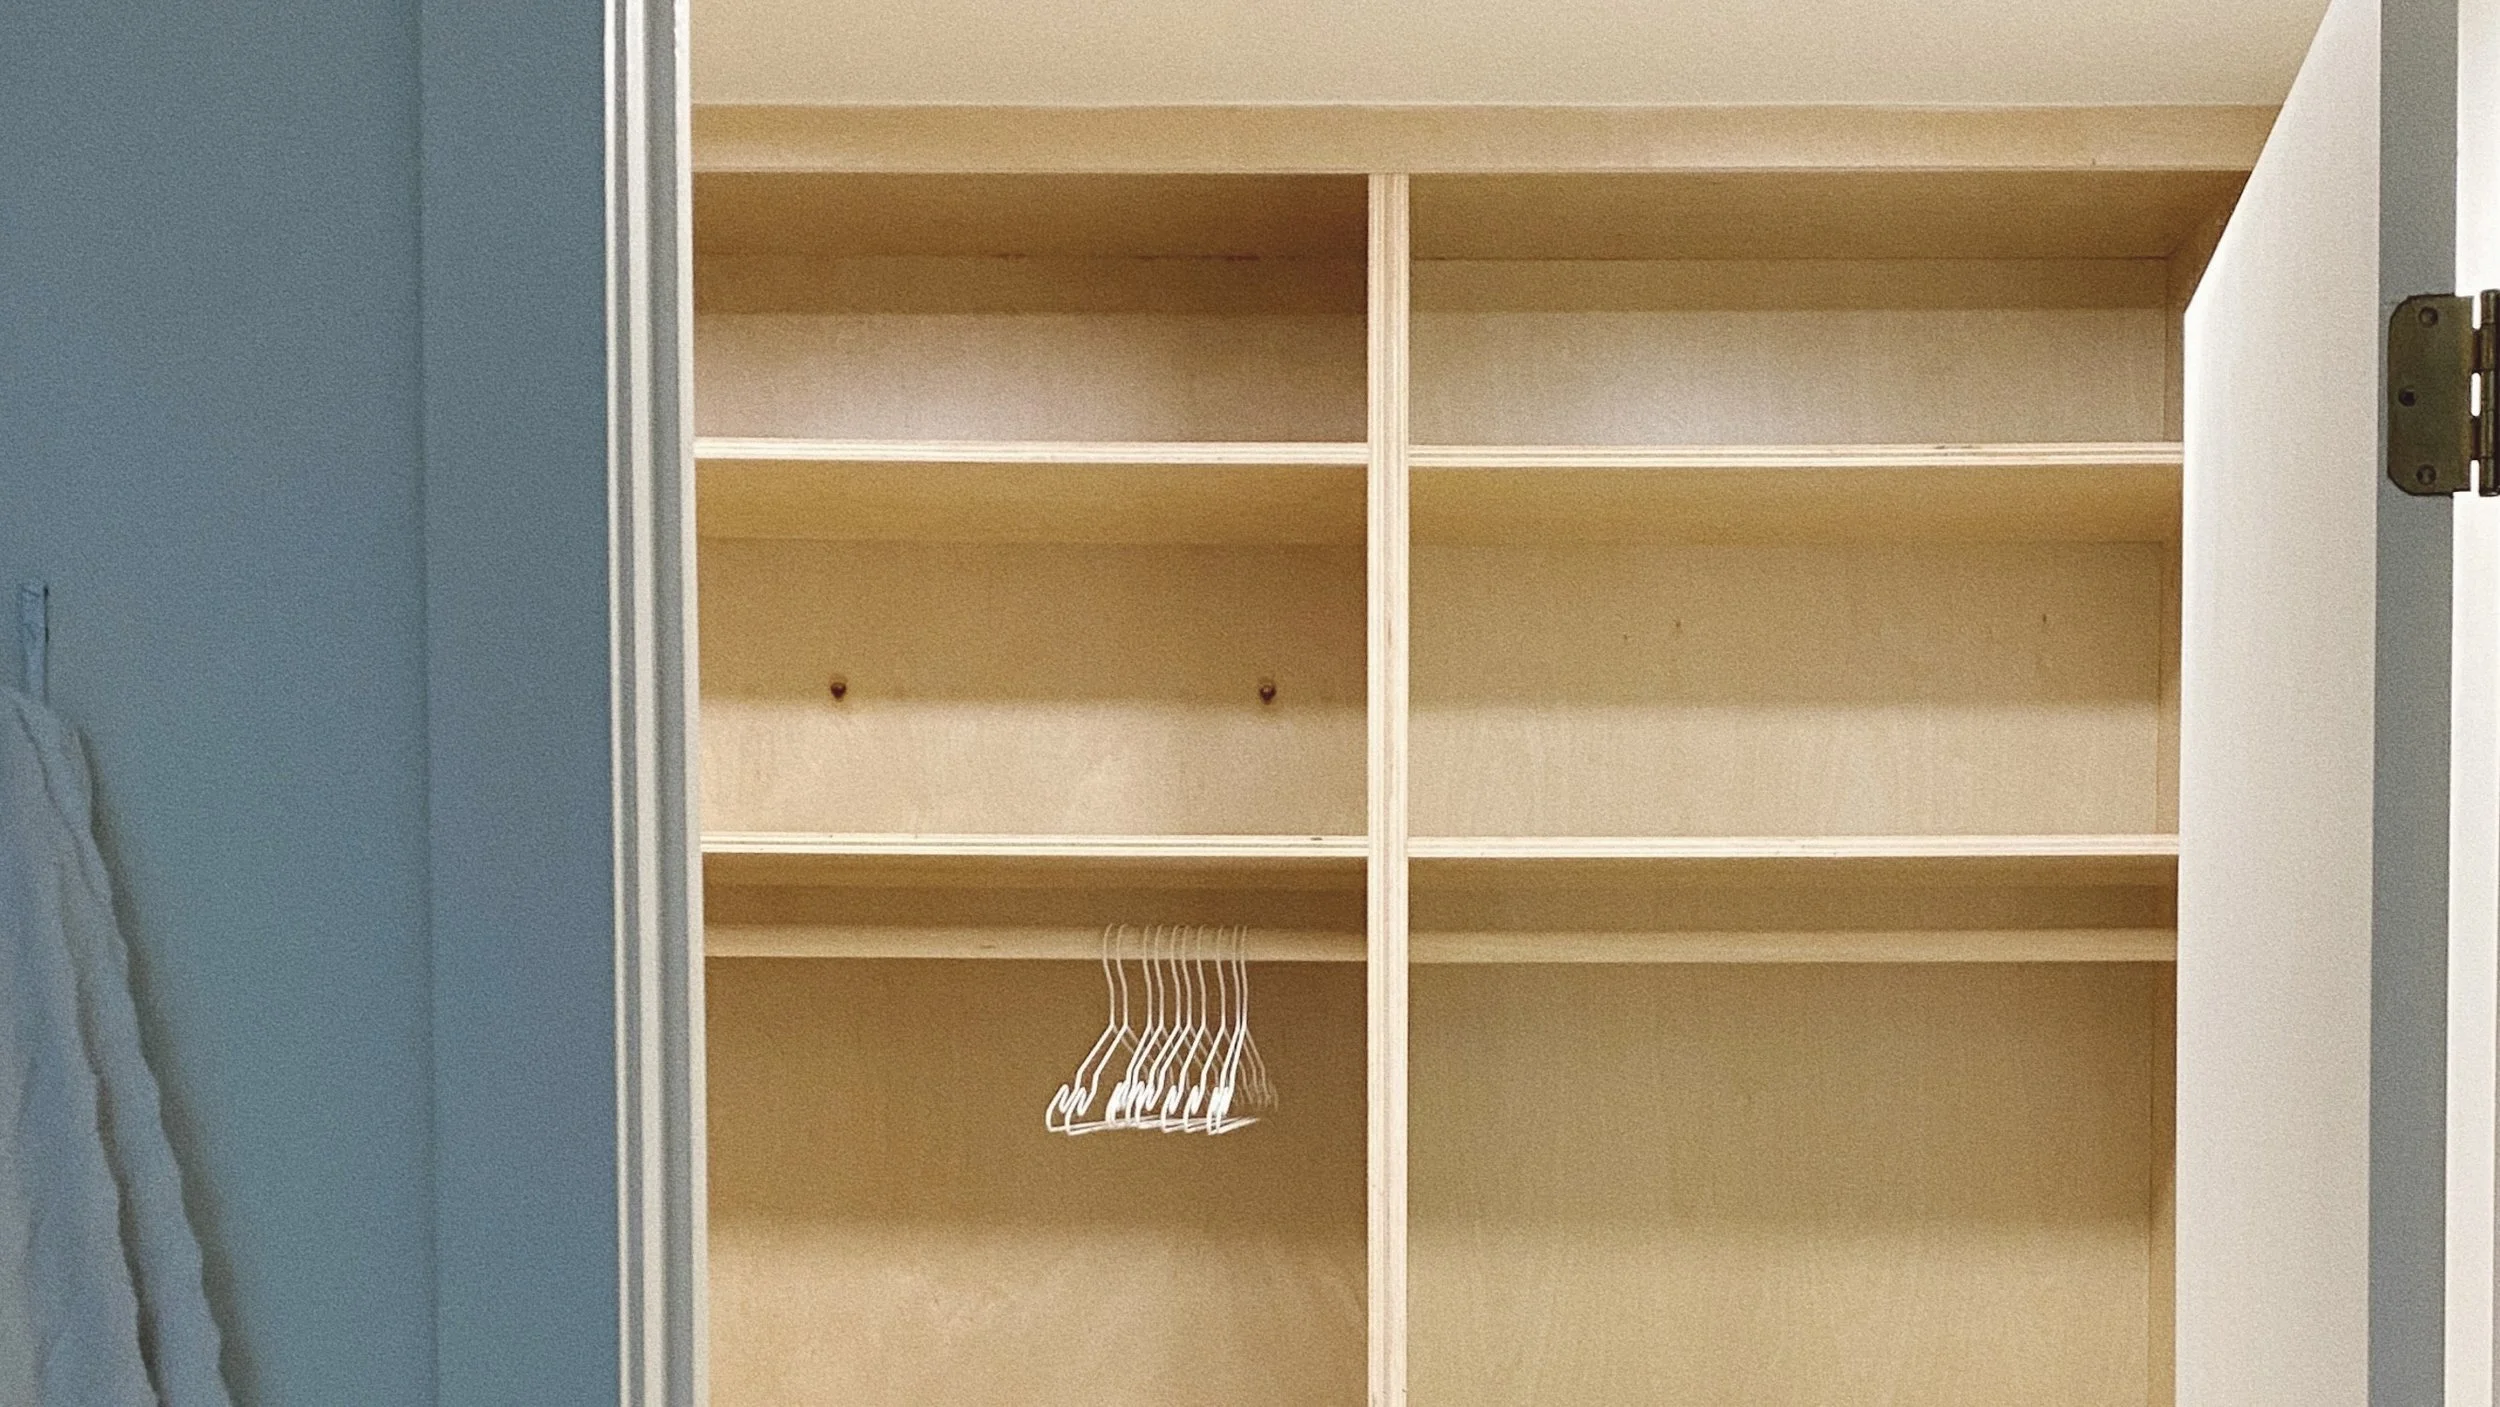
We decided to go with birch for the buildout, as was suggested. It’s more cost effective than maple (original plan to match our floors) and we liked the idea of it being a little warmer in comparison to our floors. All other fine details were tuned out by the builders.

filling the closet:
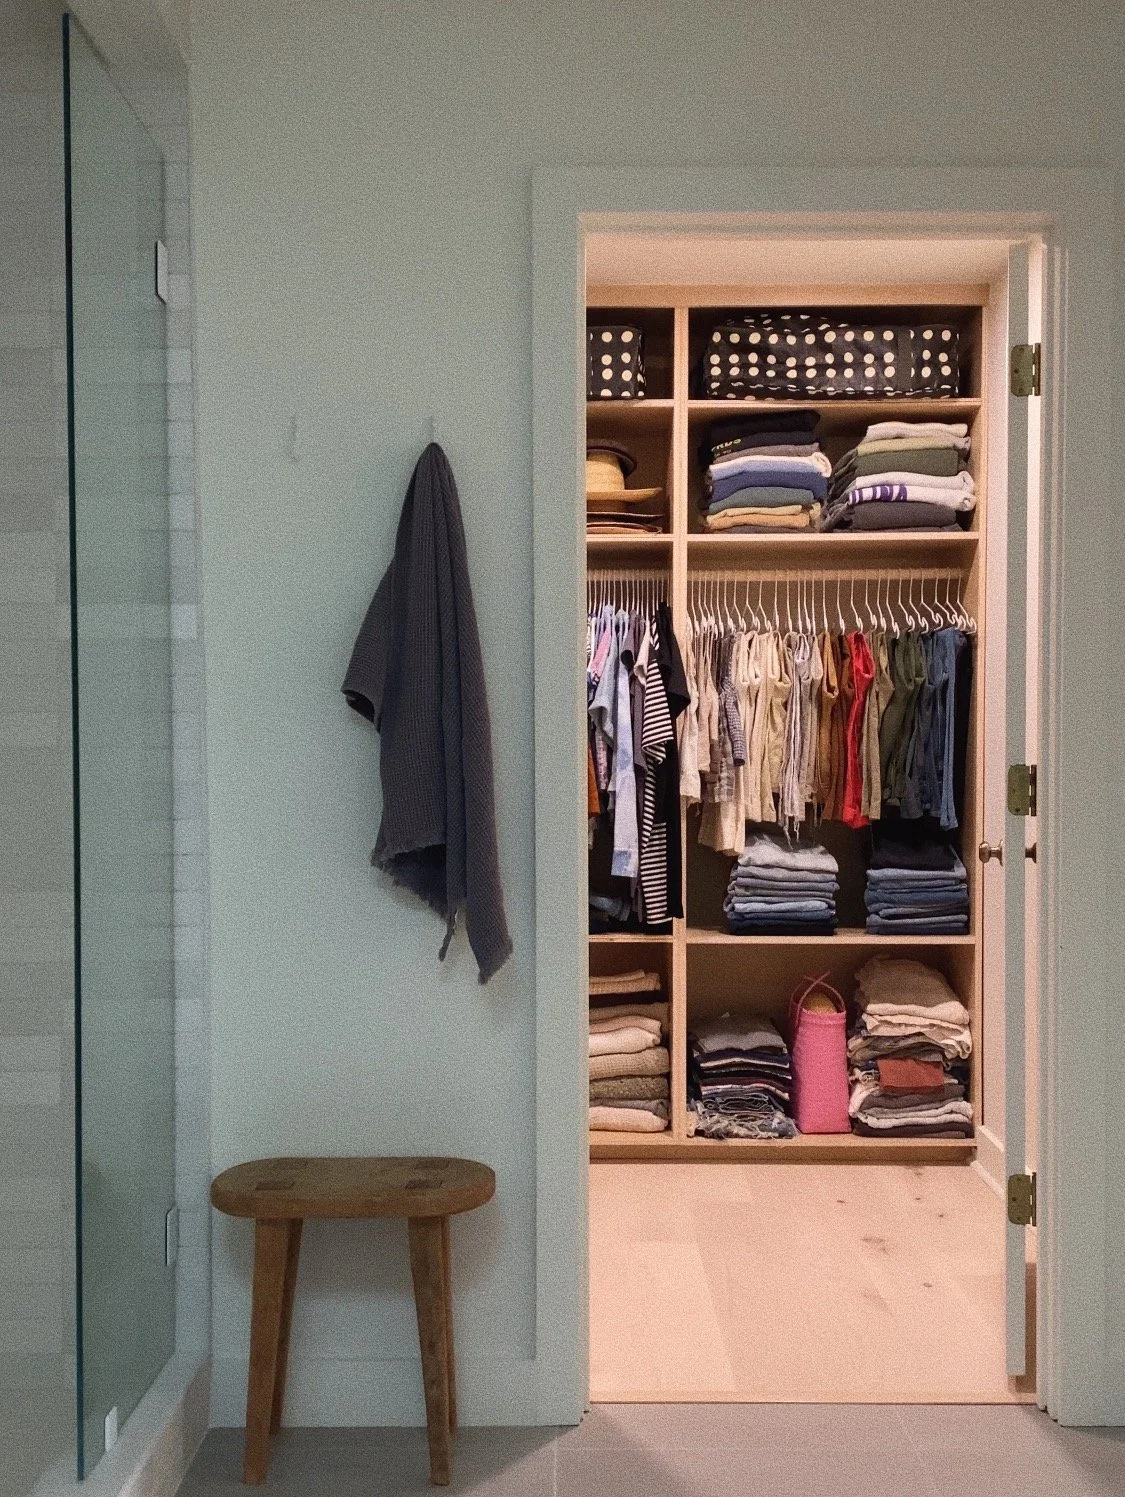
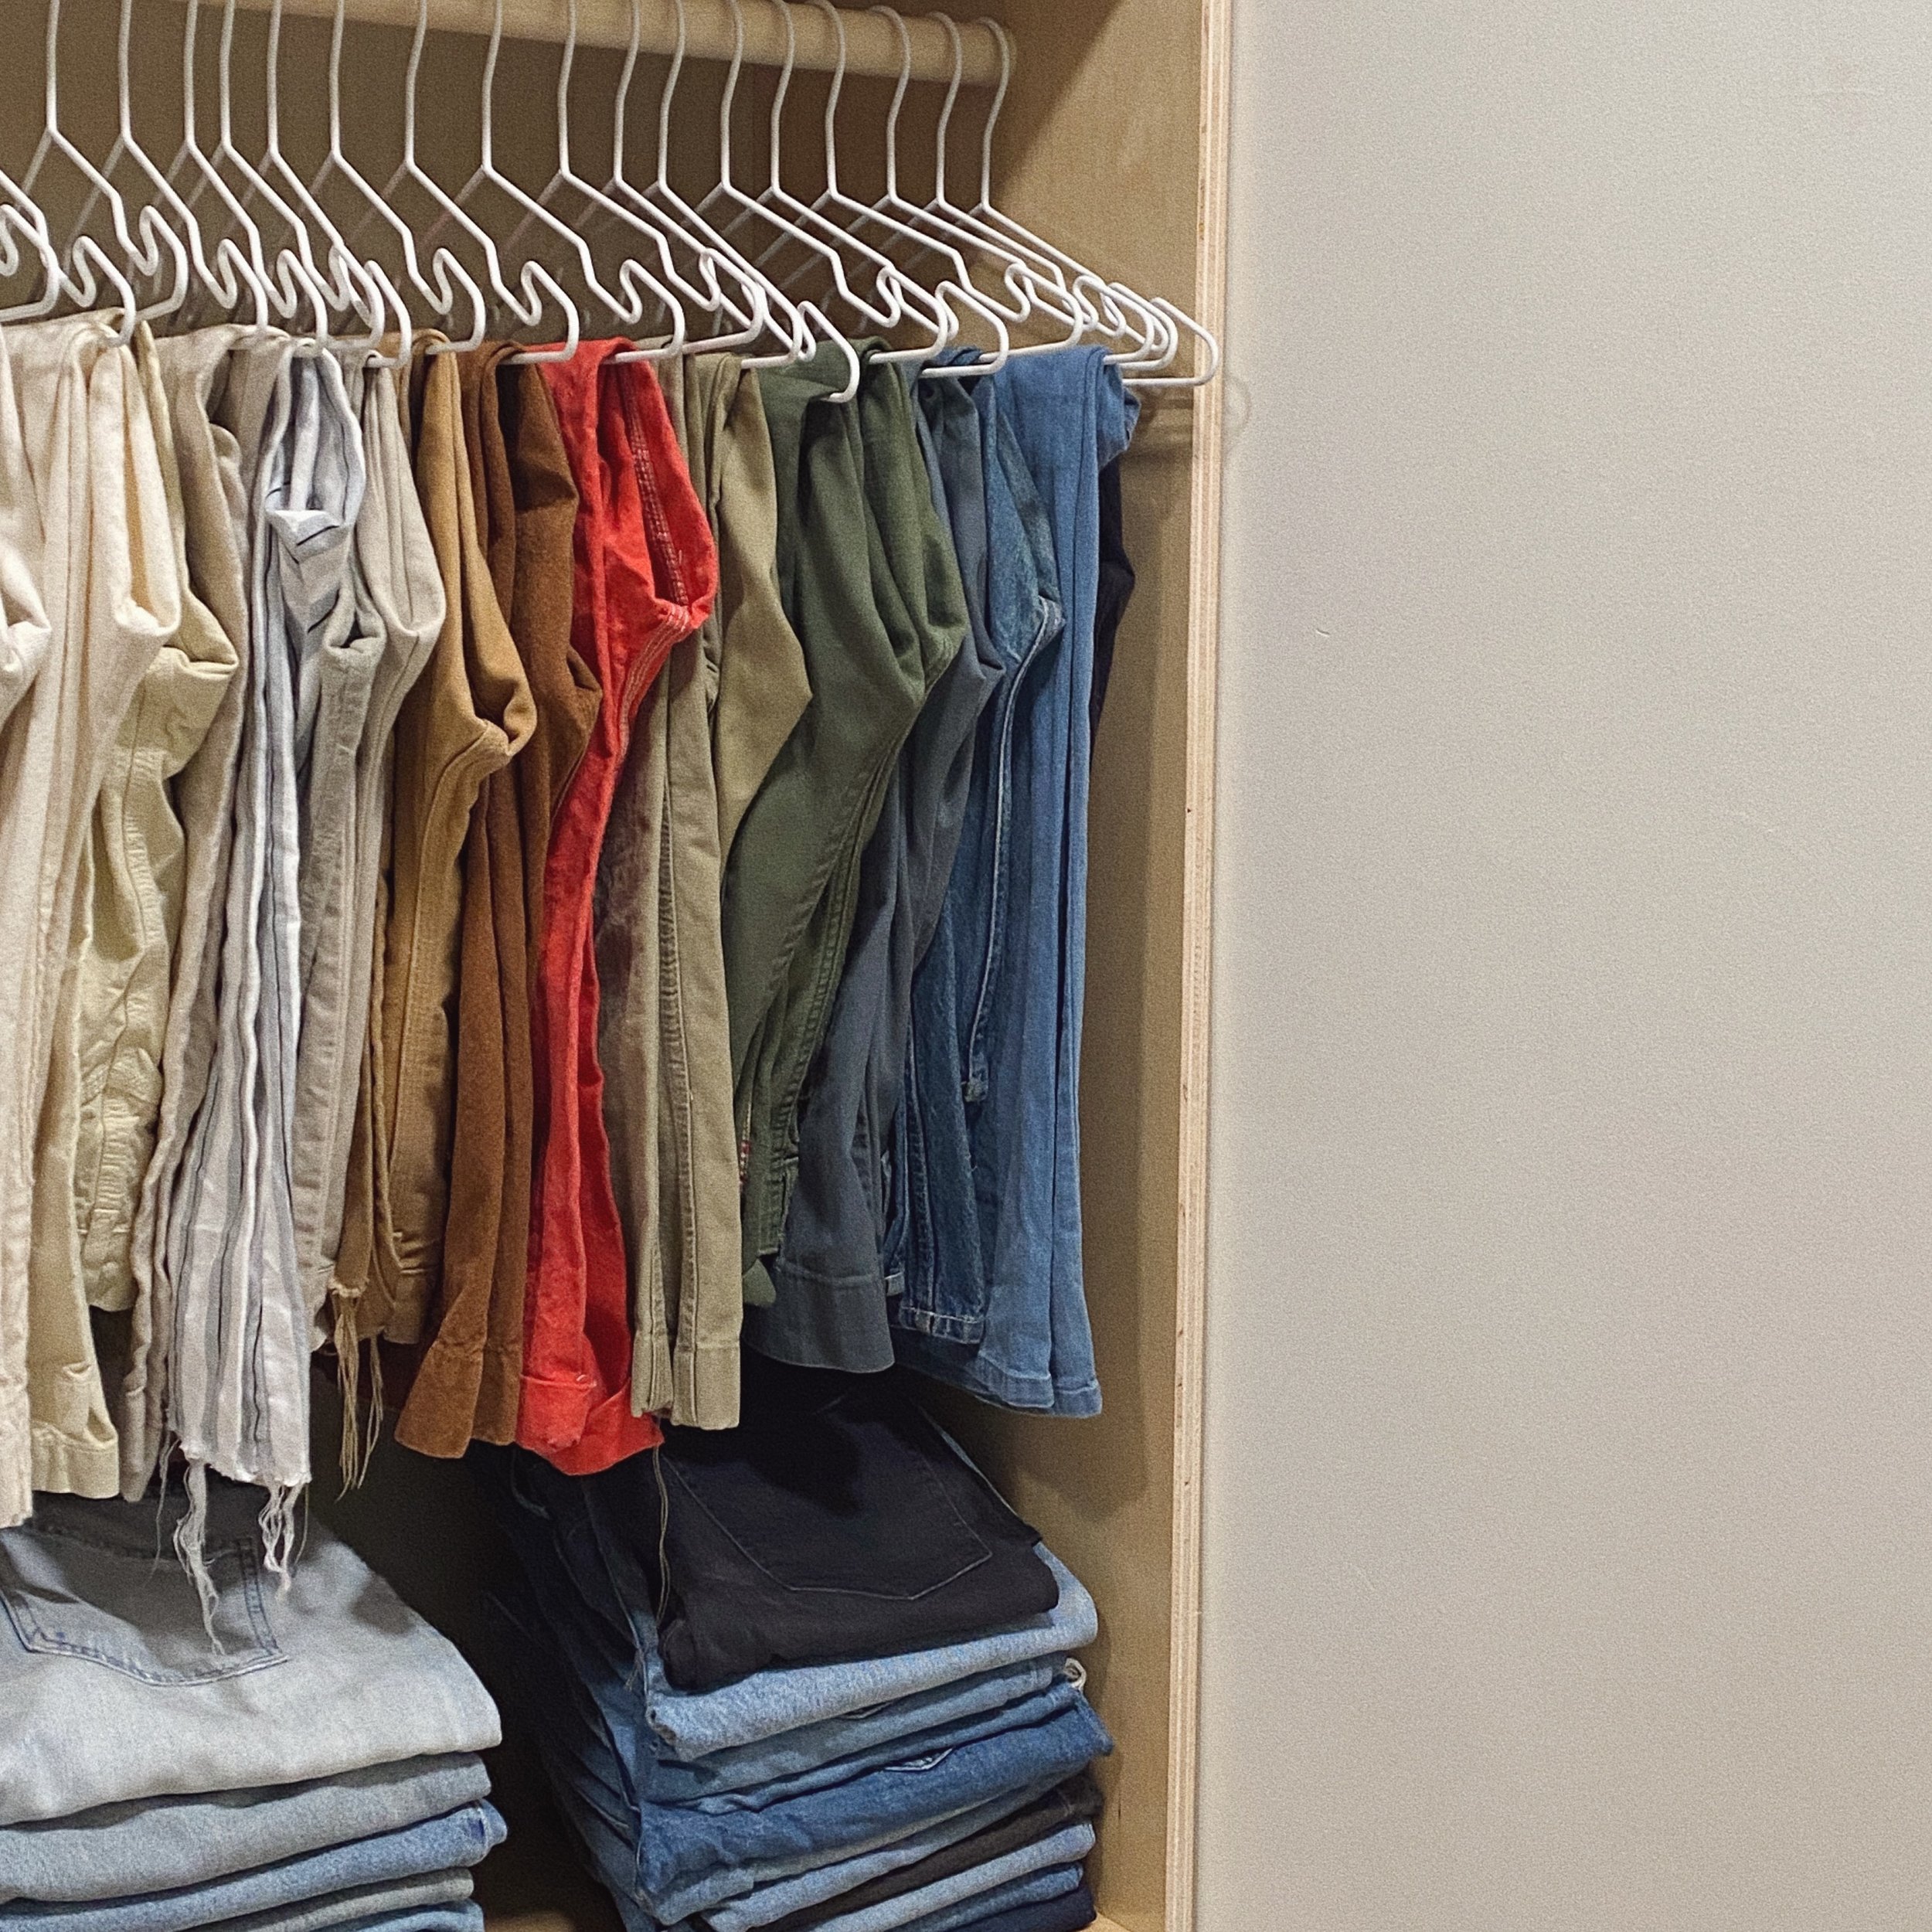
When it came to filling the closet I knew to start we would need to upgrade our hangers. Our random assortment of plastic hangers that we each had leftover from college weren’t gonna work for this exciting new install. I found some heavy duty white metal hangers online that I am super pleased with.
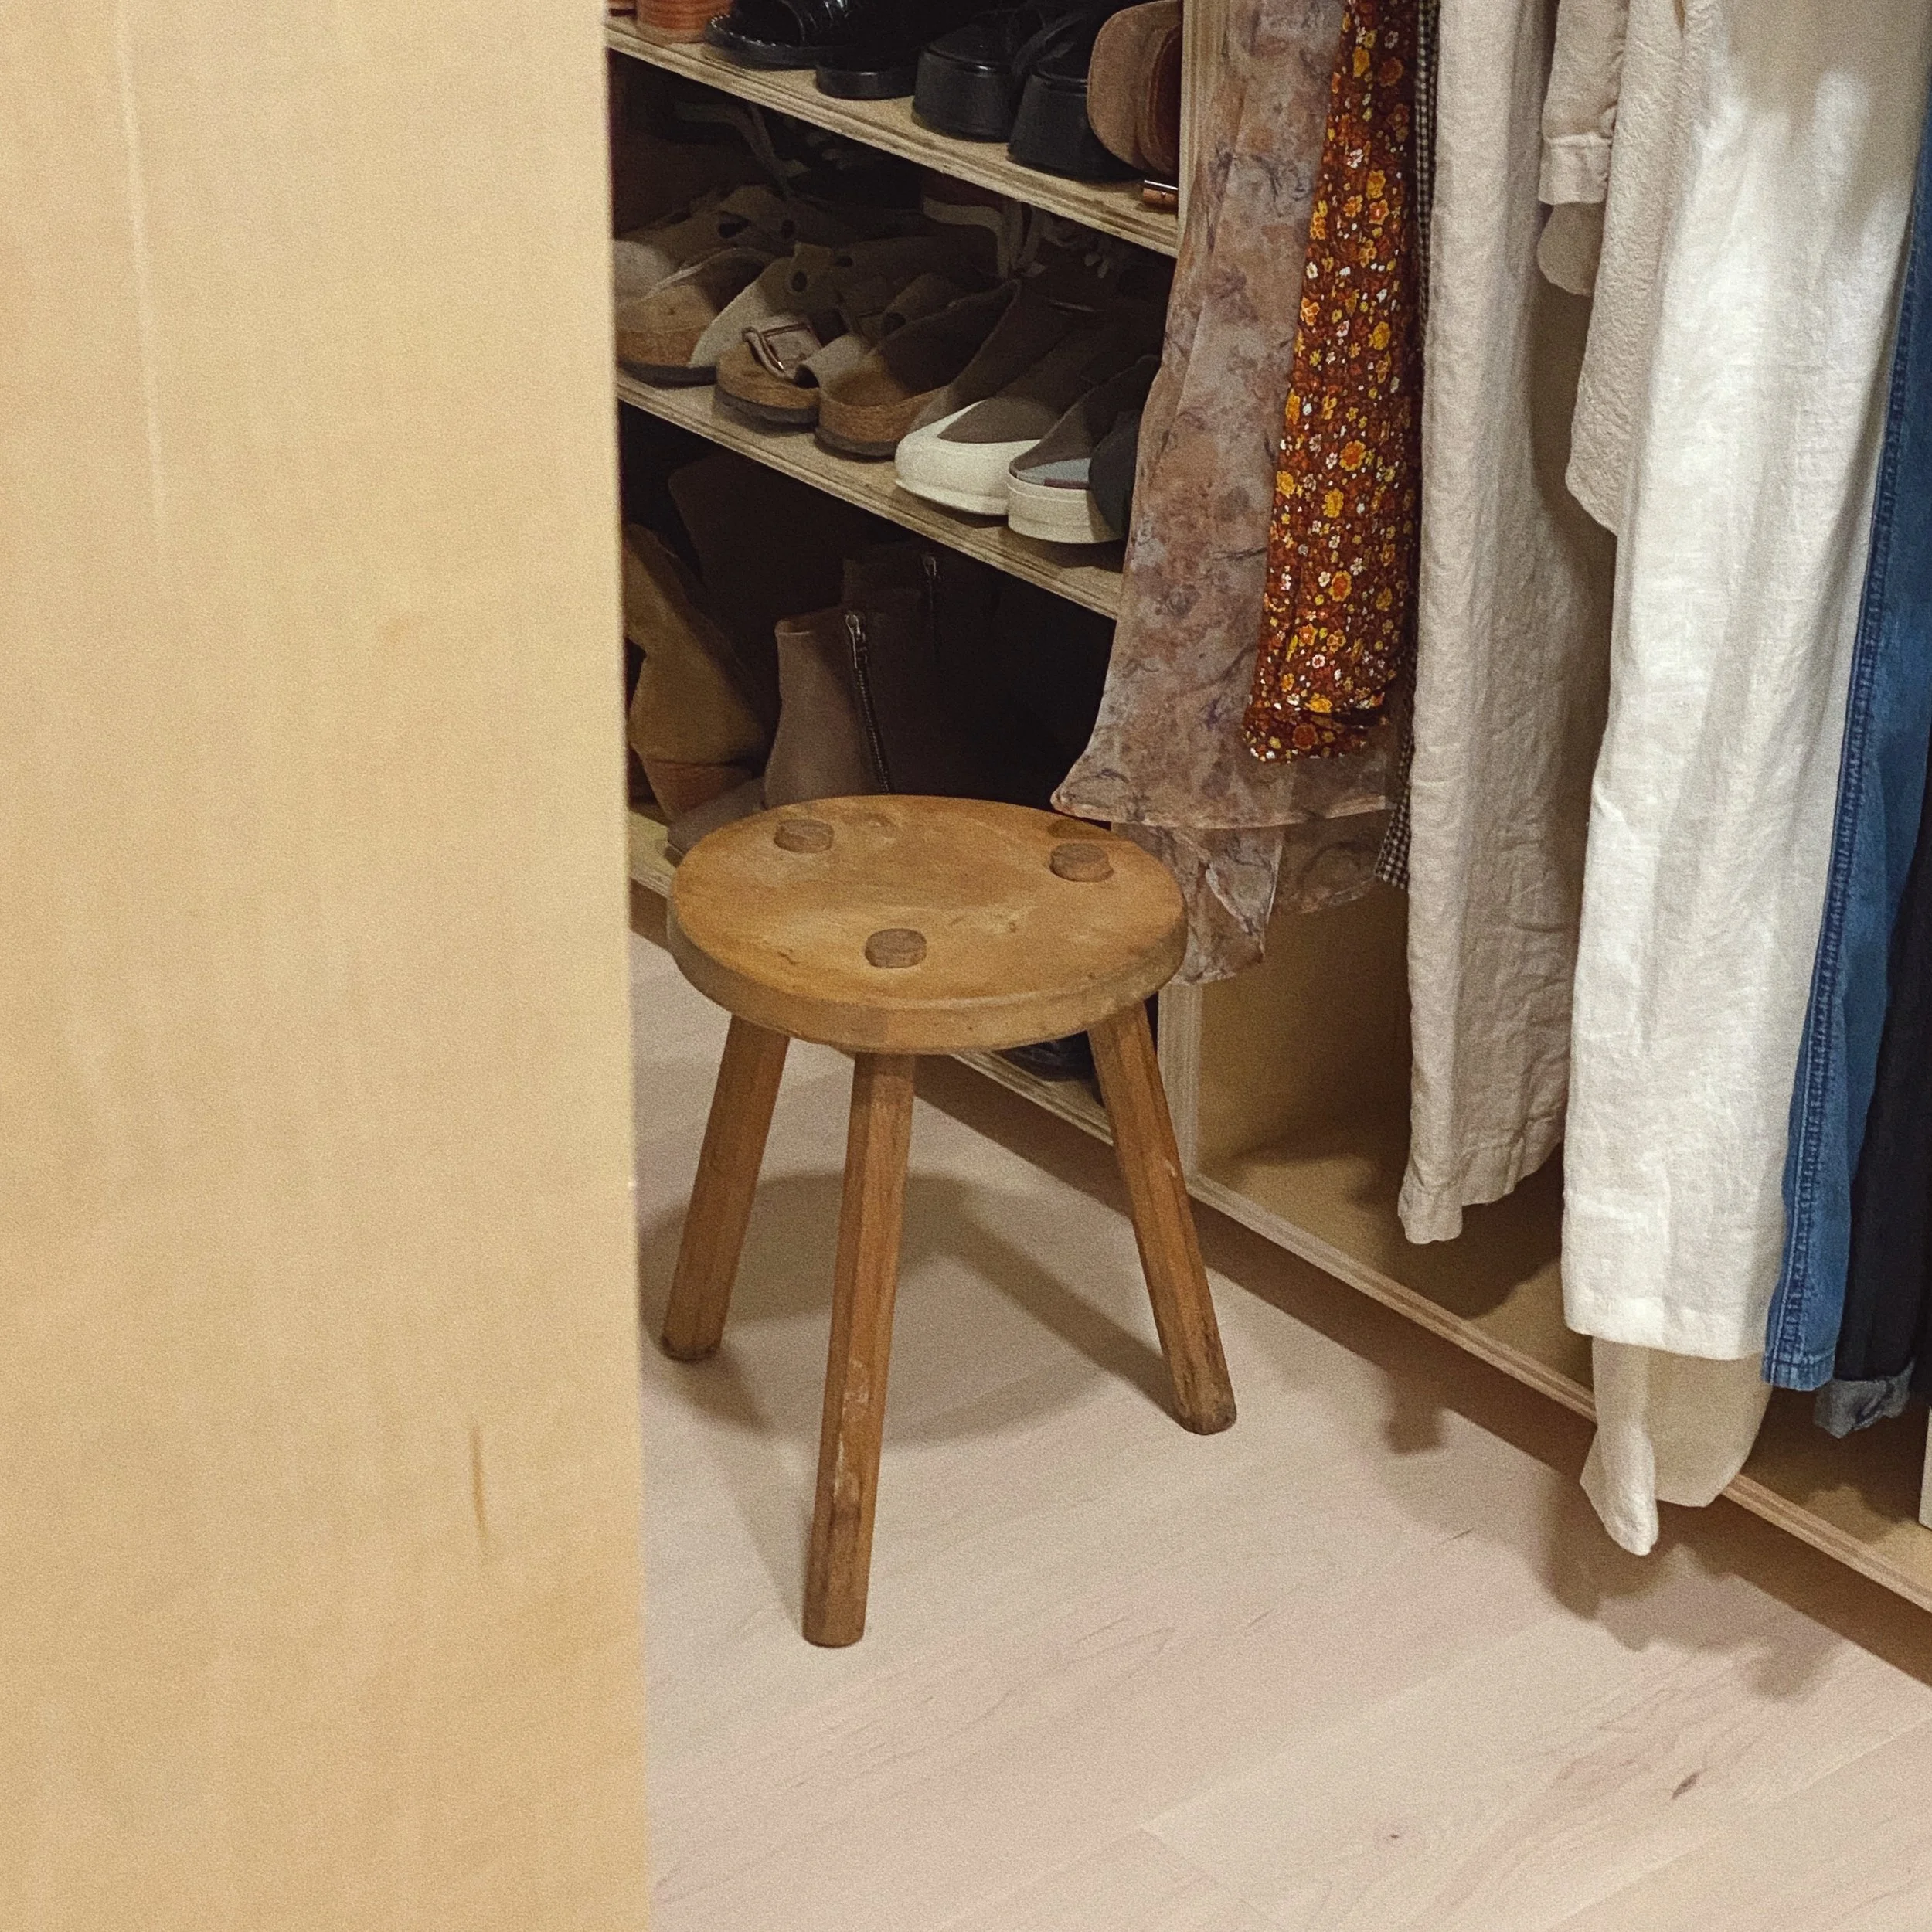
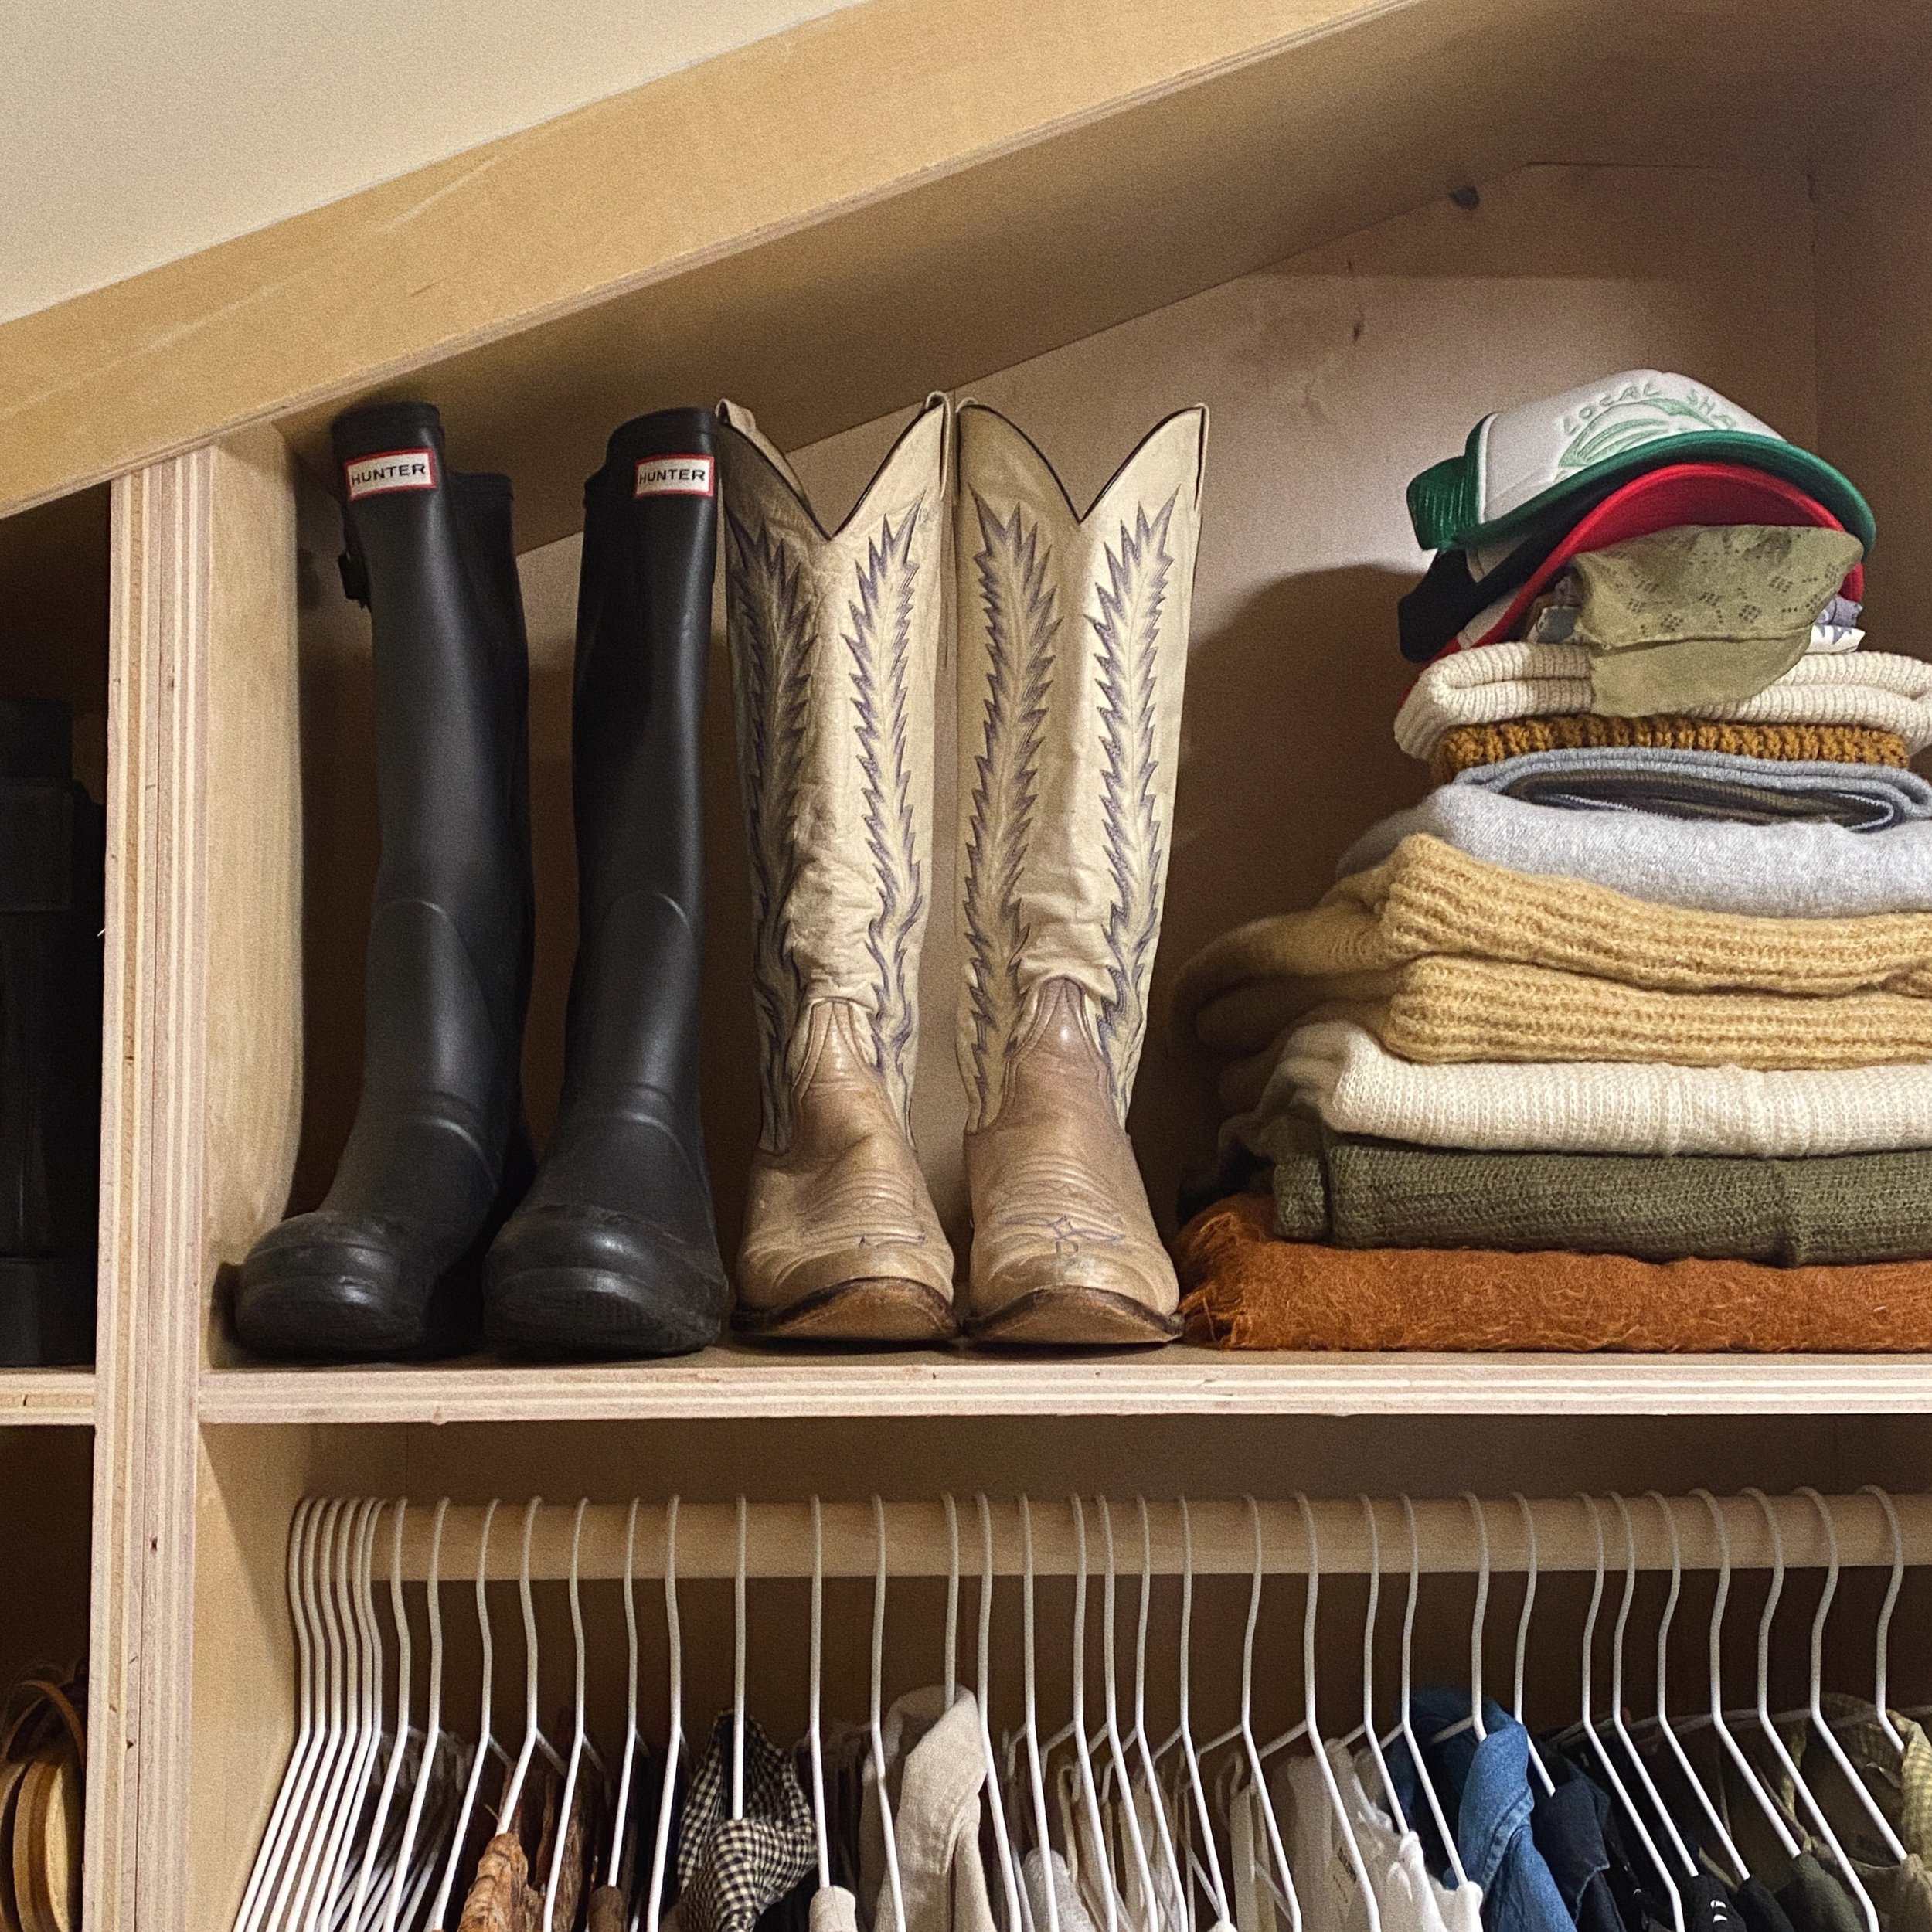
I organized in a way that works for me by keeping pants, shirts, dresses/jumpsuits, sweaters, etc. all separate. I designed each of our sides to have shelves for shoes or small items and that ended up working out perfectly. I’m happy that I chose to keep the shoe shelves flat instead of angled because it gives us more room behind each row for back storage and can be used for other items like my jewelry box.
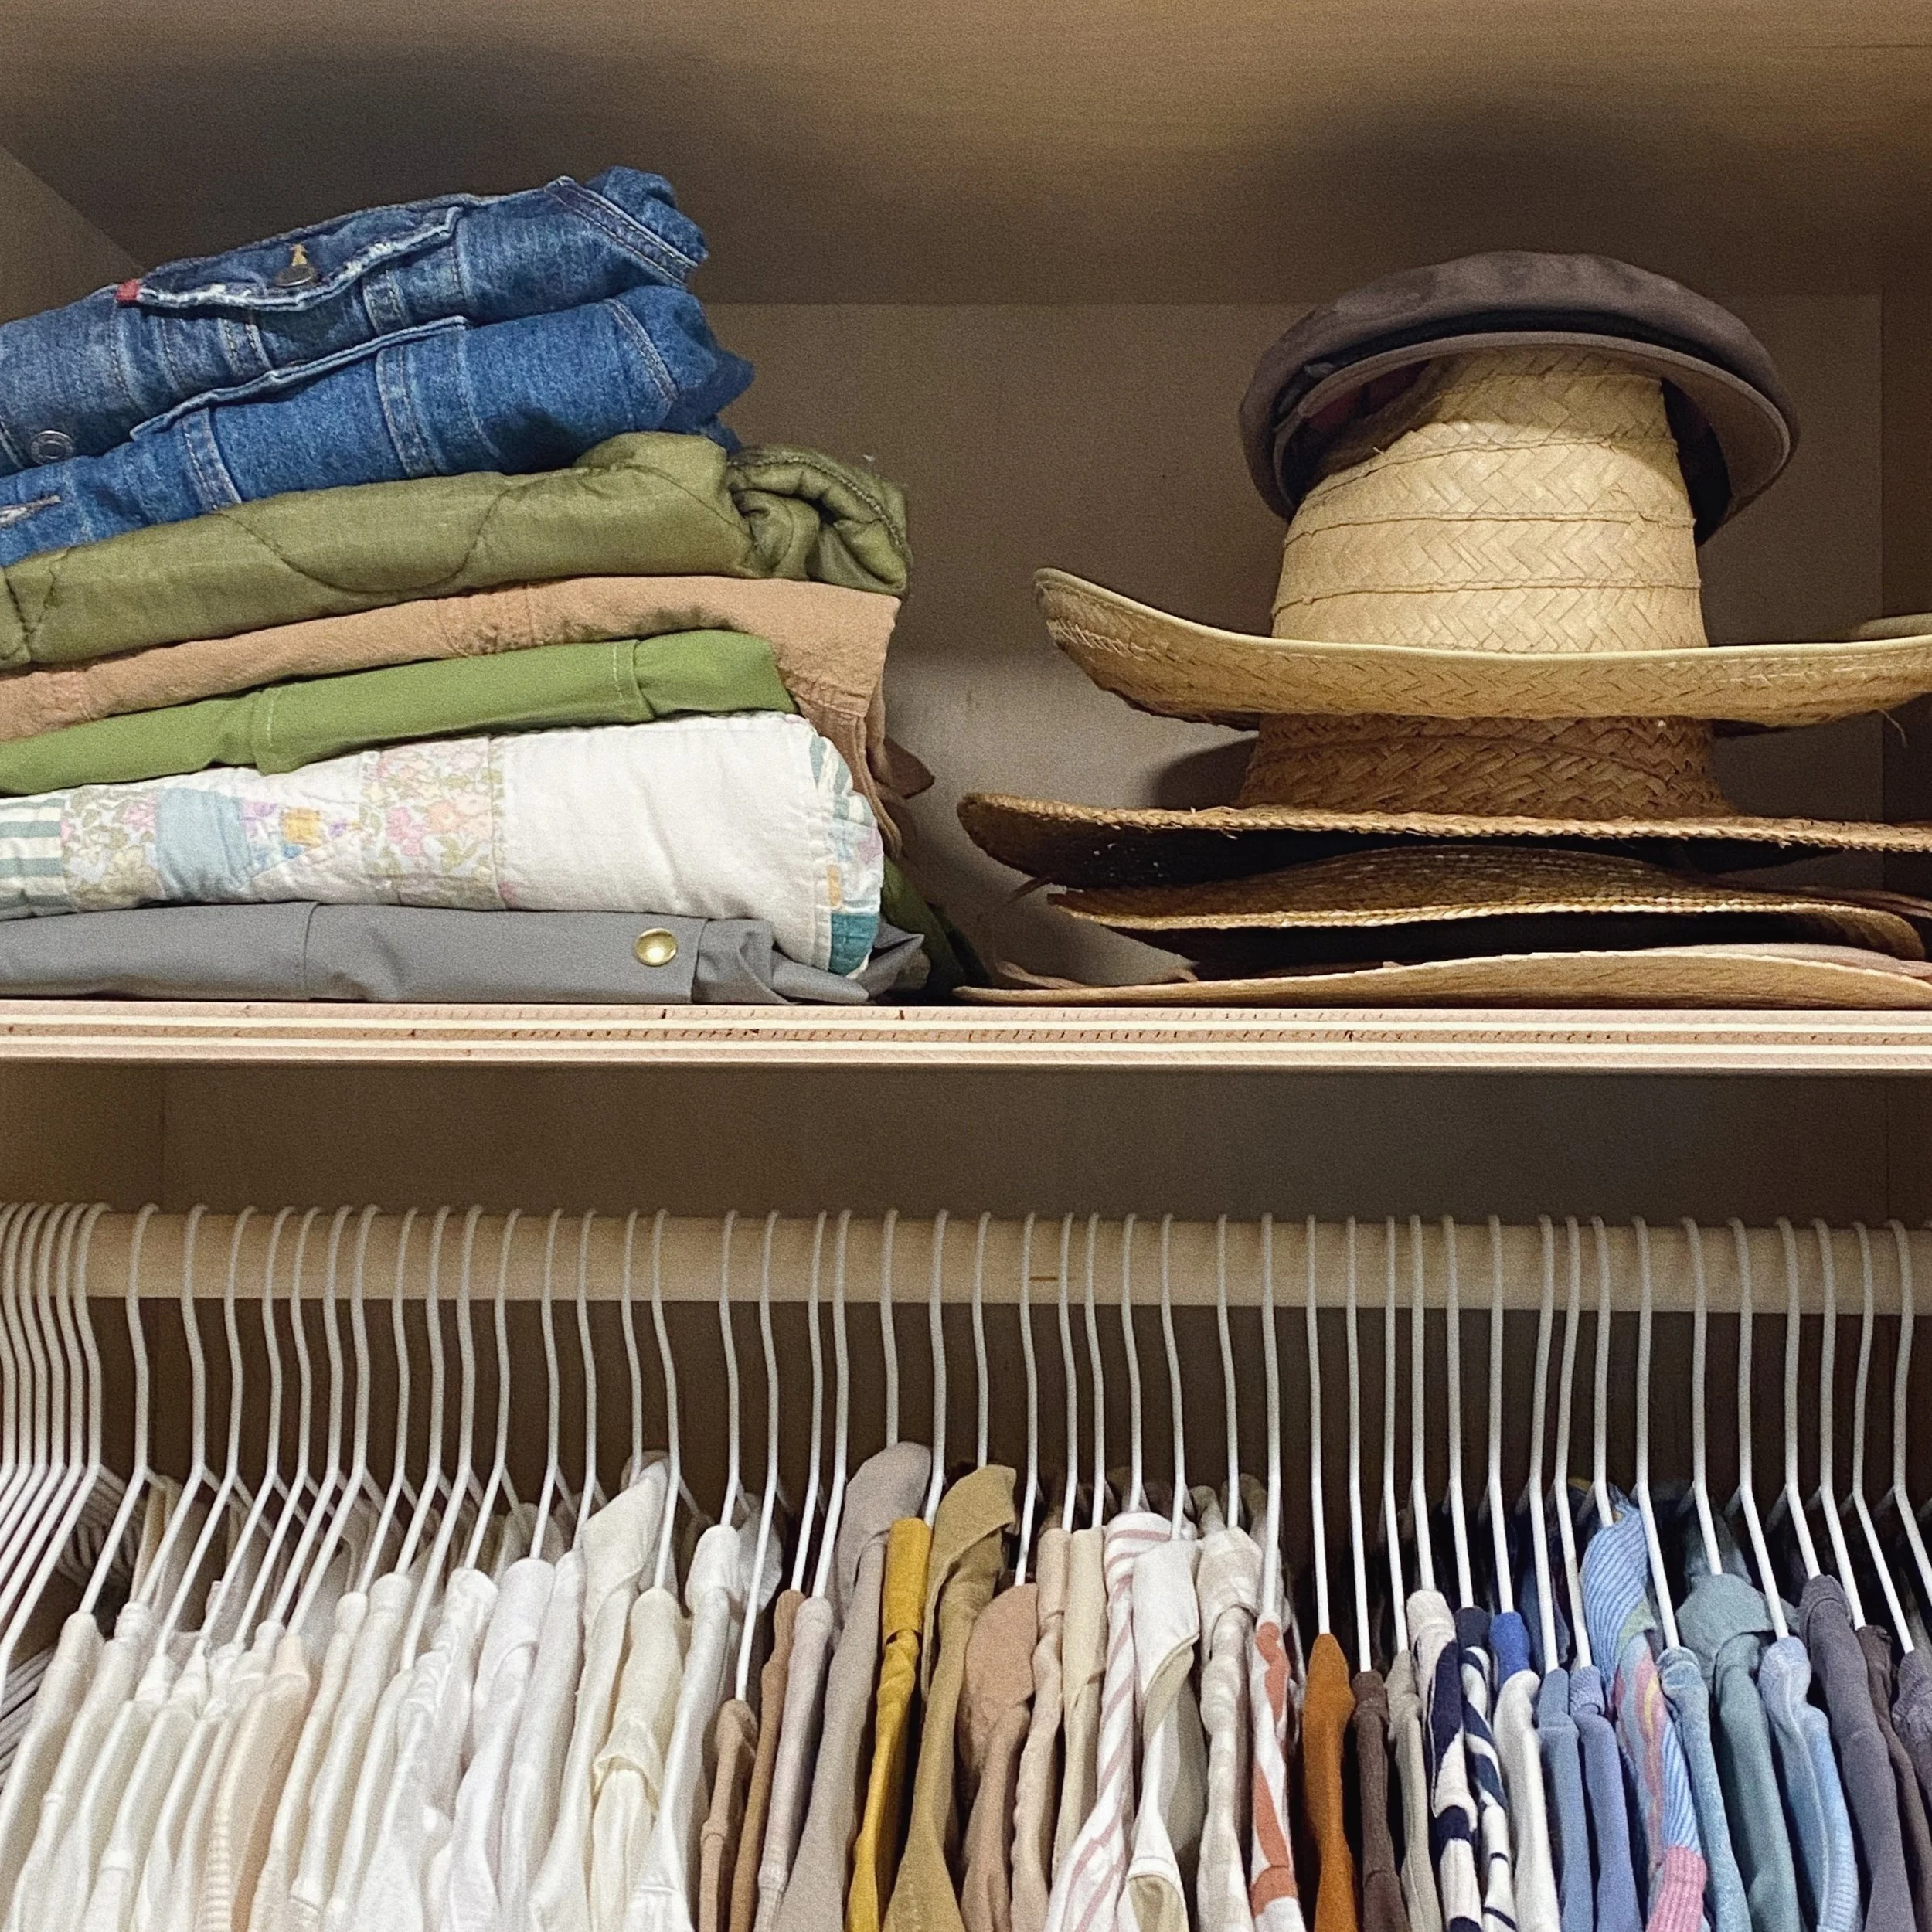
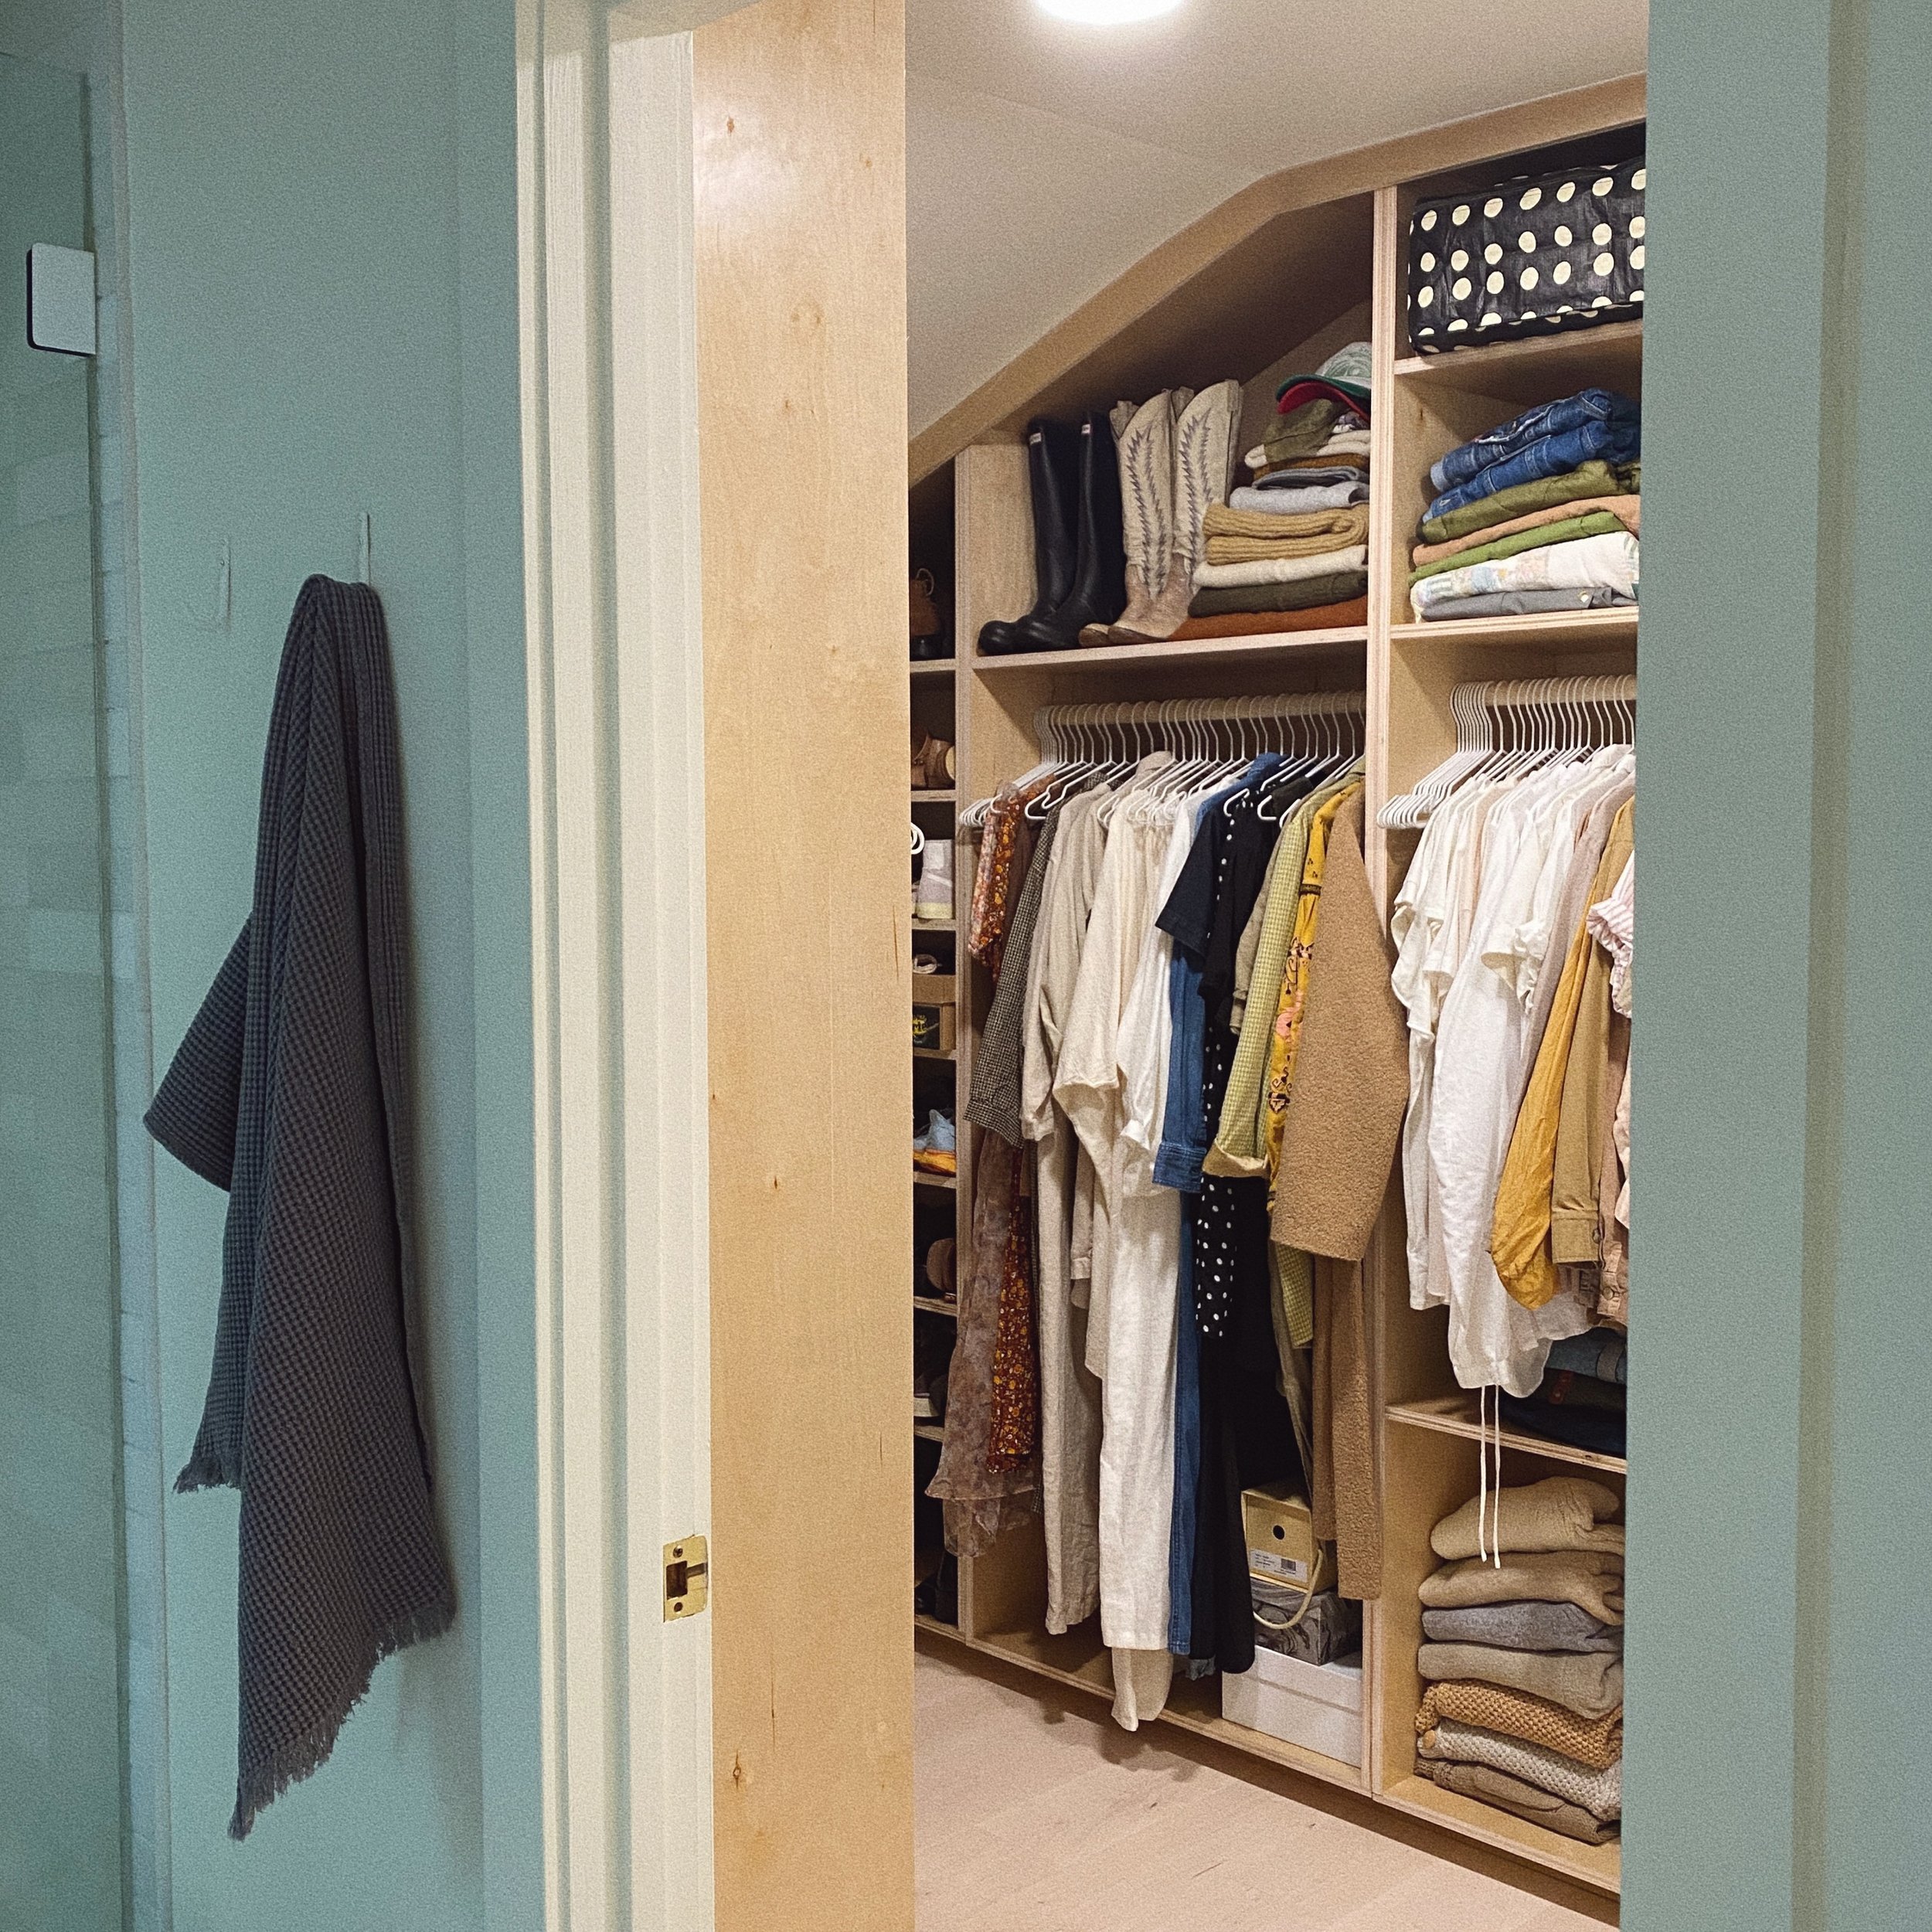
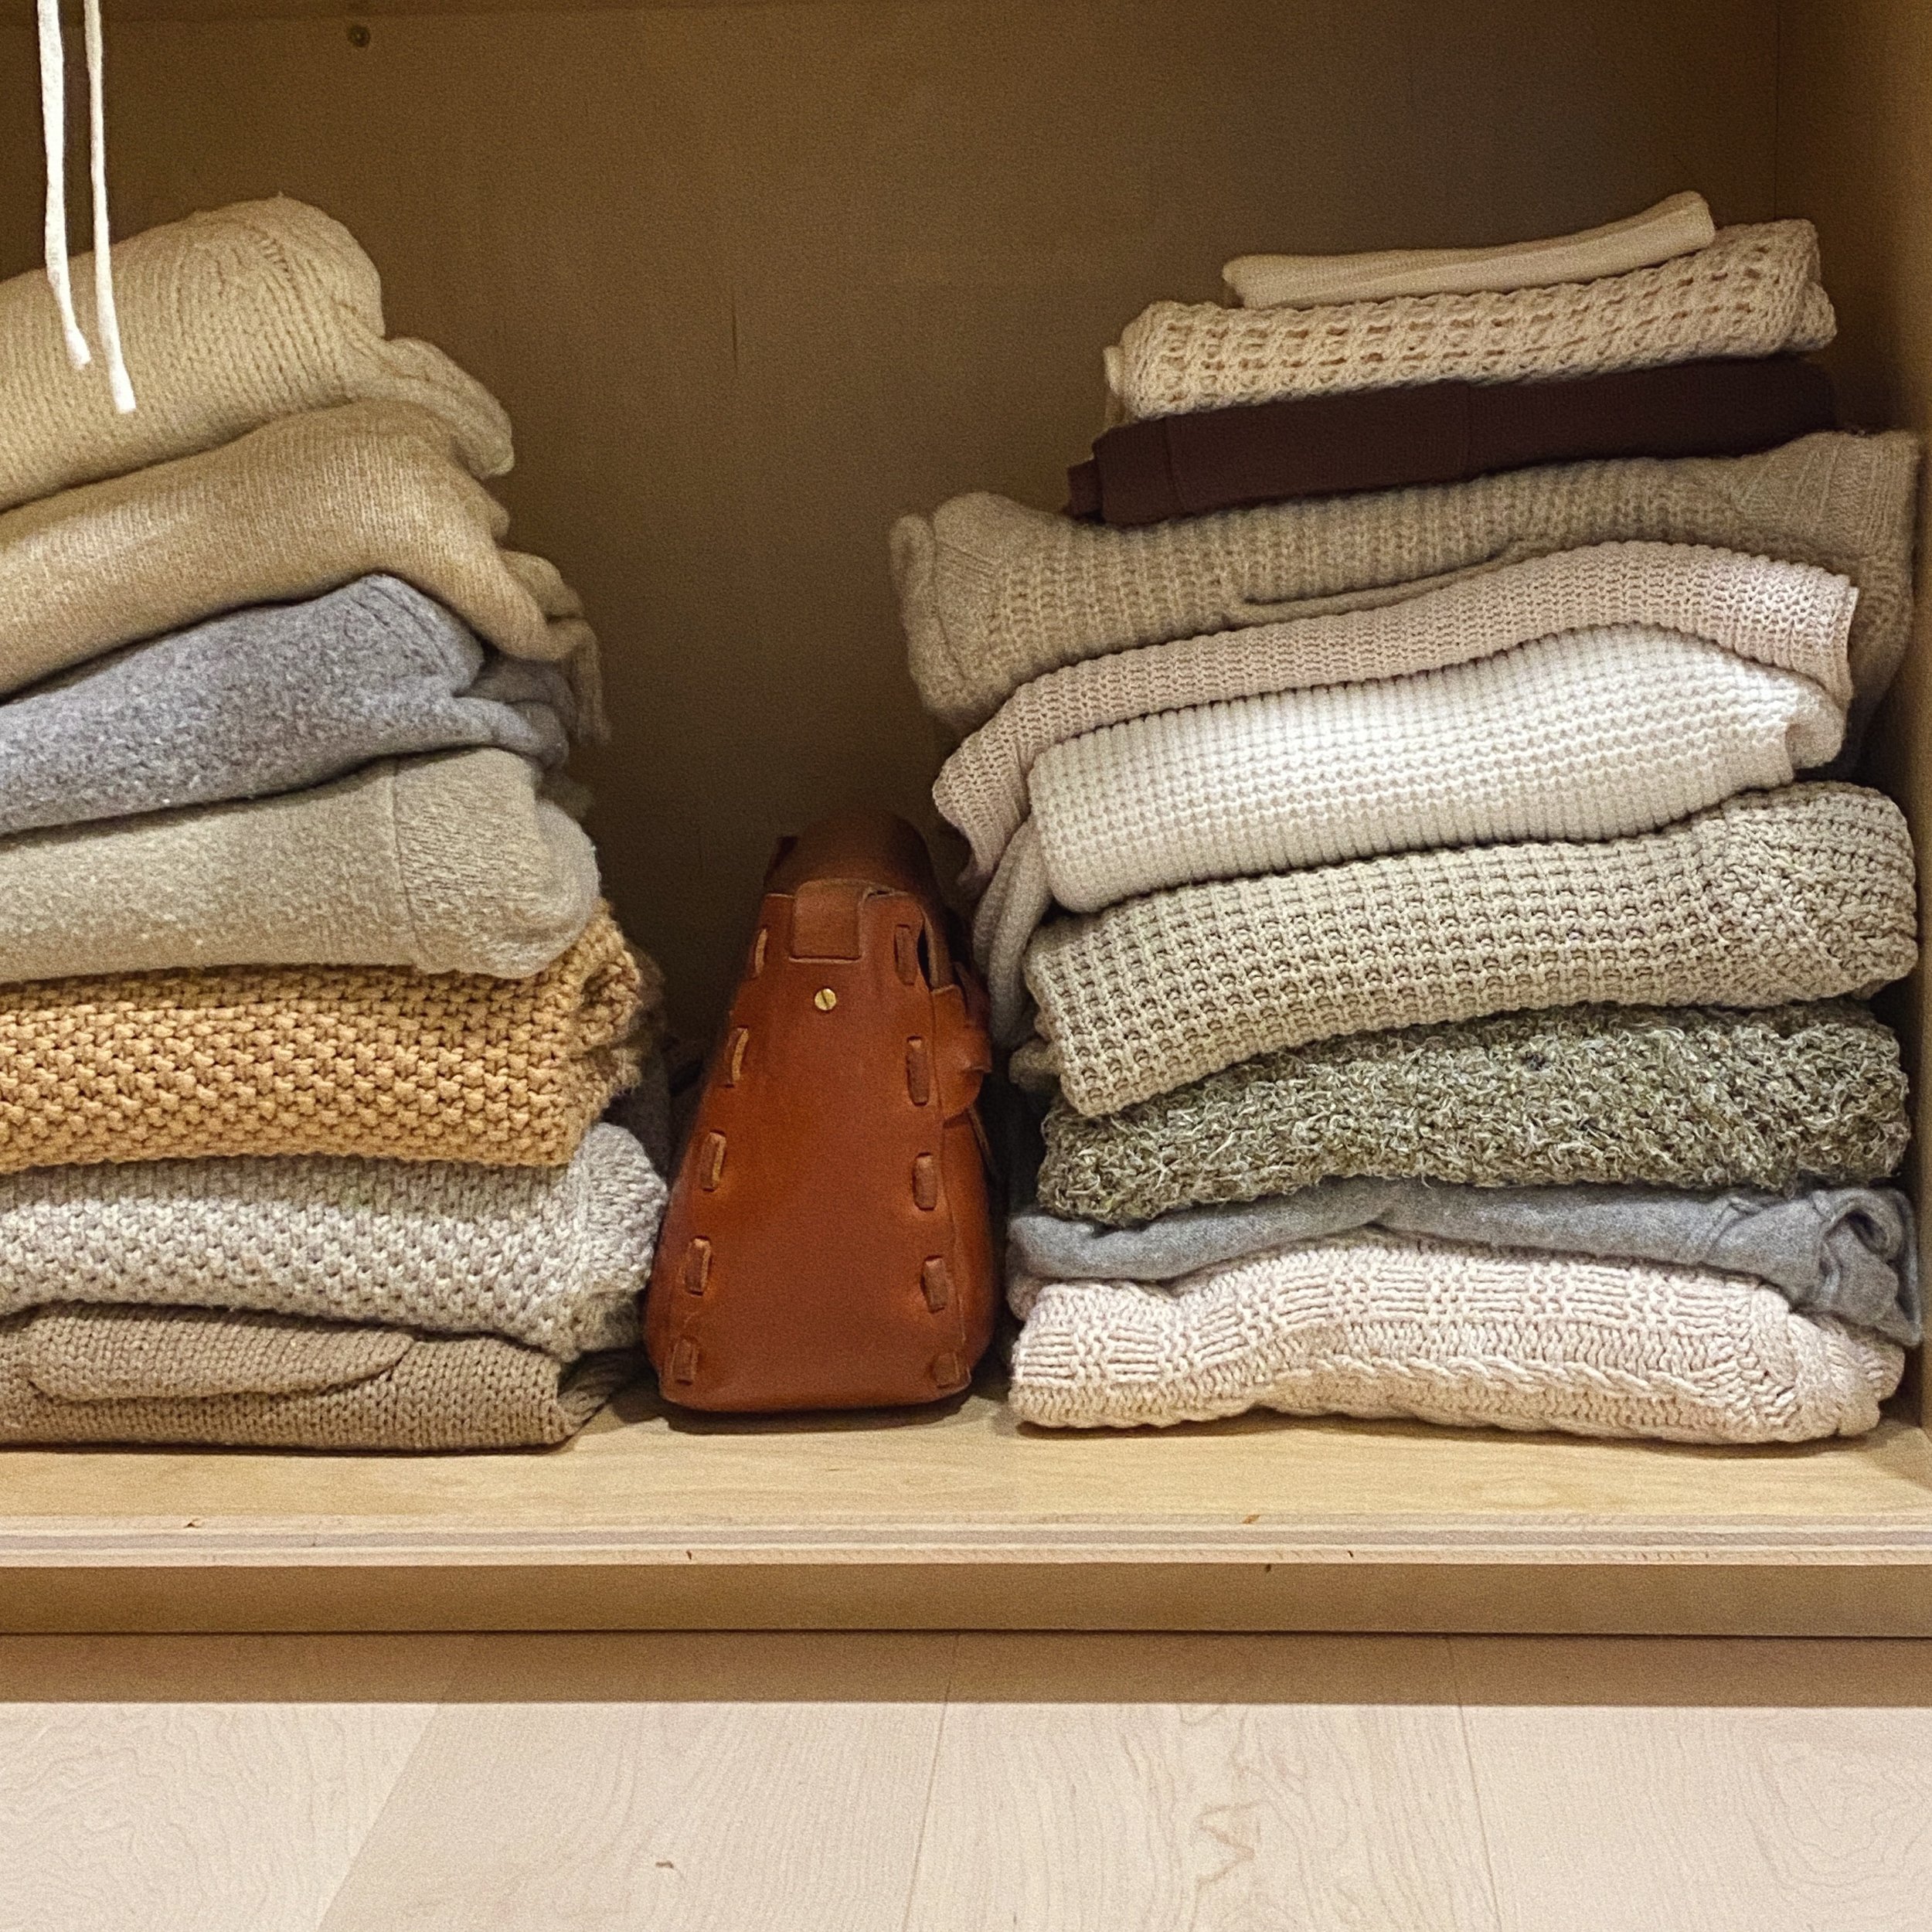
I had two zip-up storage compartments I had found at ikea a little while back that I based the top cubbies off of holding. These are perfect for accessories or items that aren’t used often. For instance, one of mine holds handbags and the other holds snowboard gear.
A small stool was an added touch for sitting on when putting on shoes or for standing on to reach higher up items.
We also plan to add an old mirror to the back wall that we had in the garage waiting to be used.
Aside from saving for this project and having our clothes in boxes for two years, this was a pretty straight forward process. We’re extremely pleased with the final result and I have every intention of making this my new hangout spot lol.
Thanks for reading!
xo, Molly
if you’re interested in seeing more on our closet buildout,
head to our instagram page and checkout our closet buildout reel :)